
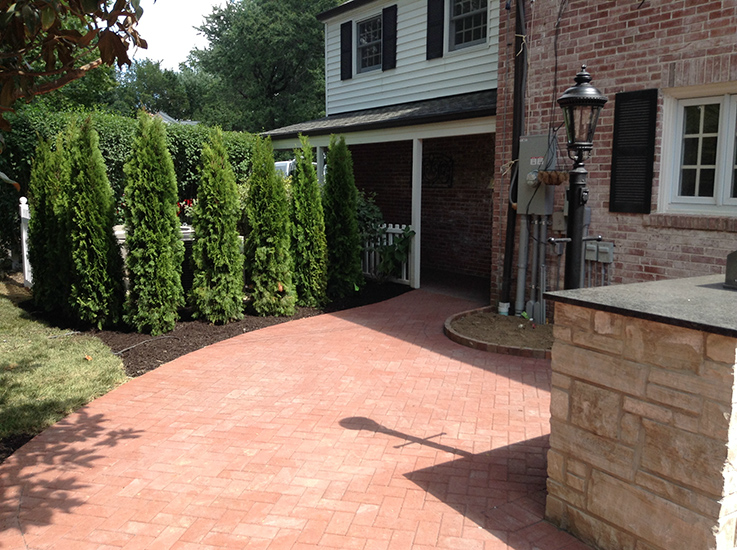
Preparing Your Outdoor Kitchen for Winter
Whether you enjoy entertaining friends and family during the summer or winter months, or both, having an outdoor kitchen is a great feature to have. It provides a relaxing space to read a book, have conversations with the ones you love, or to just enjoy Mother Nature. However, as winter approaches, you need to make sure your outdoor kitchen is prepared for the colder temperatures. If you do not winterize your outdoor kitchen, expensive repairs might be in your future. The following guidelines will help make sure your outdoor kitchen and appliances will be ready to use when warmer temperatures return.
Take Care of Your Plumbing
Make sure you remove any water that is in the pipes and plumbing system. This can result in major problems, for when it begins to freeze outside, the water can also freeze which can cause the pipes to burst. If the pipes burst, you could end up with huge plumbing bills and flooding, making it unable for you to use your outdoor kitchen.
In order to clear your pipes, you will need to shut off all water supply lines going to the kitchen from the indoor plumbing system. Be sure to shut it off using a valve that is inside your house. This way the water does not rest in outdoor pipes.
When you have shut off the water, start draining the lines. Be sure you do not forget about water supply lines that are connected to refrigerators, ice makers, and sinks. The best way to clear water from lines is by using compressed carbon dioxide.
The last step is to make sure all of the drain valves are left open during winter. This will ensure that water does not remain in the pipes, which will also save you from expensive repairs.
Prepare Your Grill
Even if you plan on using your grill during the winter, it is a good idea to do a deep cleaning to make sure it is in good working condition for the summer. The following steps are a good guideline to follow when cleaning your grill.
- Use a degreaser to get rid of the grease that has built up
- Use a stainless steel polish to polish the grill
- Scrub areas that are still dirty with a metal grill brush
- Remove the grates and clean underneath the grill
- Season the cooking surfaces using vegetable oil to the grates. Heat the grill to 500F for 20 minutes
- If you are not using your grill during the winter, be sure to turn off the gas line
Depending on the quality of your grill and the materials it is made out of, you may not have to use a cover. However, if you do use a cover, make sure you use one that is made for your type of grill that allows moisture to get out.
Cover or Seal if Needed
If you want to prevent wear, cracks, and stains due to cold temperatures and wet weather, then you might want to think about covering your appliances. However, keep in mind that covering surfaces and appliances allows for moisture to get confined under the cover and can cause more damage than if they were not covered. One tip is to call the manufacturer of the appliances to see how to best protect them.
Another way to protect surfaces from wear is to apply sealers and finishers. Make sure you have also taken everything out of cabinets and they are clear of dirt and debris. Use oil on wood cabinets and surfaces and a coat of stainless steel finish on stainless steel appliances. If you have stone countertops, be aware that weather can wear them down over time. You should buy sealers that are made specifically for stone to prevent any damage.
Winterize the Refrigerator and Ice Maker
The first thing you should do is turn the power off to both the refrigerator and ice maker. The water should already be shut off and the water lines running to the machines should be drained. Once you have done these, either unplug the refrigerator and ice maker or turn off their circuits in your home’s electrical panel. Afterwards, clean each one by following these steps:
- Clean out the ice maker’s storage bin and close the drain valve
- Take everything out of the refrigerator and clean it with soap and water
- Remove the front grill of each one and vacuum them out. When done, put the grills back on each one
- Do not cover either one, as this can contribute to a buildup of moisture which can damage the unit
Prepare Your Fire Pit
The first step to get your fire pit ready is to get rid of any debris, ash, and wood that may have gathered in the fire pit during the summer months. If your fire pit is ran by gas, be sure to turn off the supply. You may want to consider covering it with a cover that is weather resistant to keep out snow, leaves, and animals.
By taking the right precautions, you can be sure that your outdoor kitchen will be ready to go when summer comes back around. If you are in the beginning stages of thinking about designing an outdoor kitchen and have questions, please contact Fritz Stonework and Retaining Walls so we can help answer those questions and discuss the many options you can choose from.